


In this part, we are going to add a plugin to an existing mono-repo.
Open a terminal and go to the packages folder.
Go to the packages folder
cd ~/repos/0000000-demo_mono_repo_app-rubigo/packages
Create a Flutter plugin
fvm flutter create -t plugin --platforms ios,android --org com.example --ios-language objc --android-language java --project-name my_plugin ./my_plugin
Open/restart Android Studio
Android studio might not detect the new folder. Restarting Android Studio fixes that.
Commit plugin
We will use Android Studio to review and commit files.
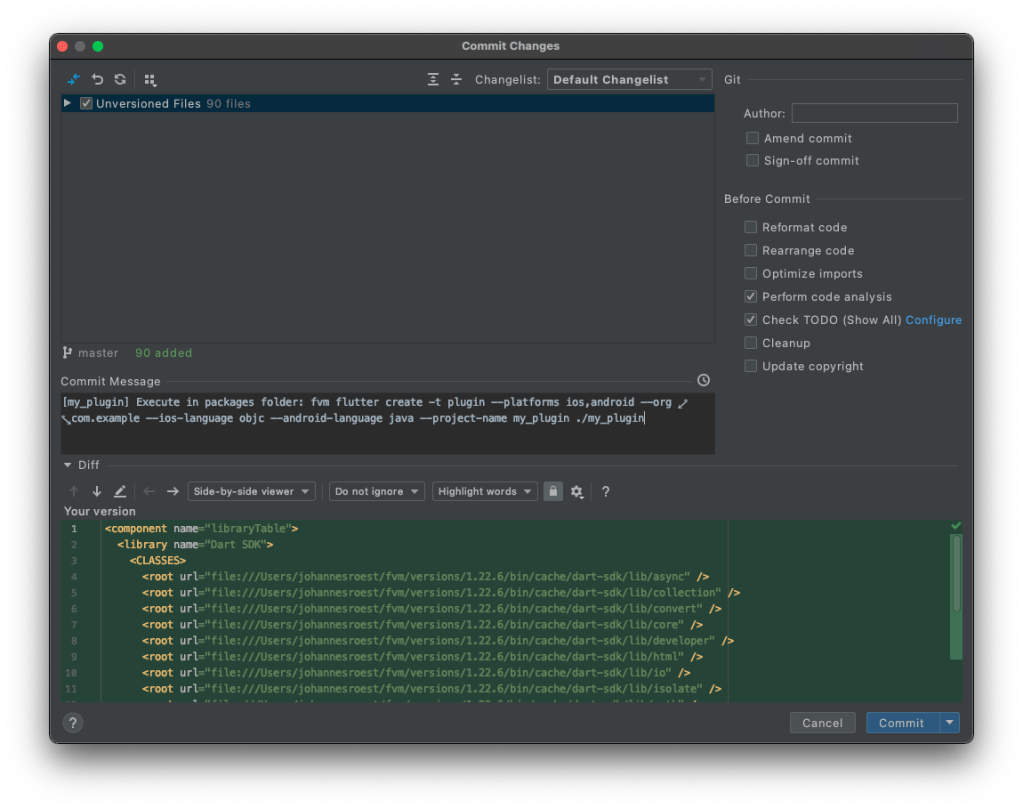 Choose Commit
Add plugin as a module
Android Studio => File -> Project Structure => Modules => + => Import Module
Navigate to my_plugin folder and choose “Open”. Be aware that the initial folder that Android Studio suggests might not be part of your current project.
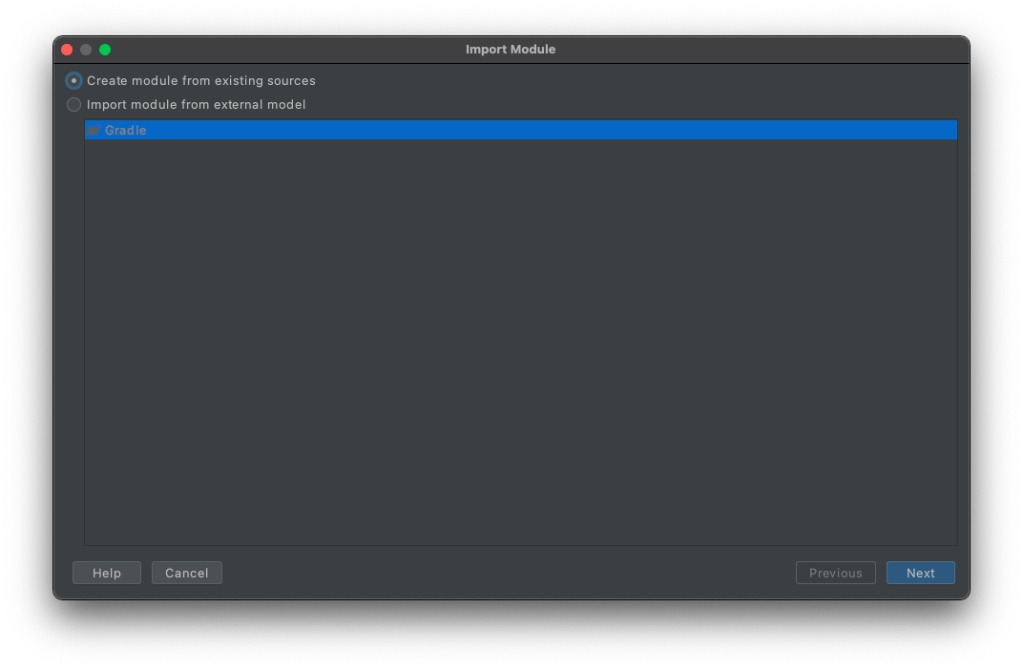 Select “Create module from existing sources”, choose “Next”
 Deselect all lines, except the one with Flutter, choose “Next”
 Deselect all, choose “Finish”
Commit add plugin as a module
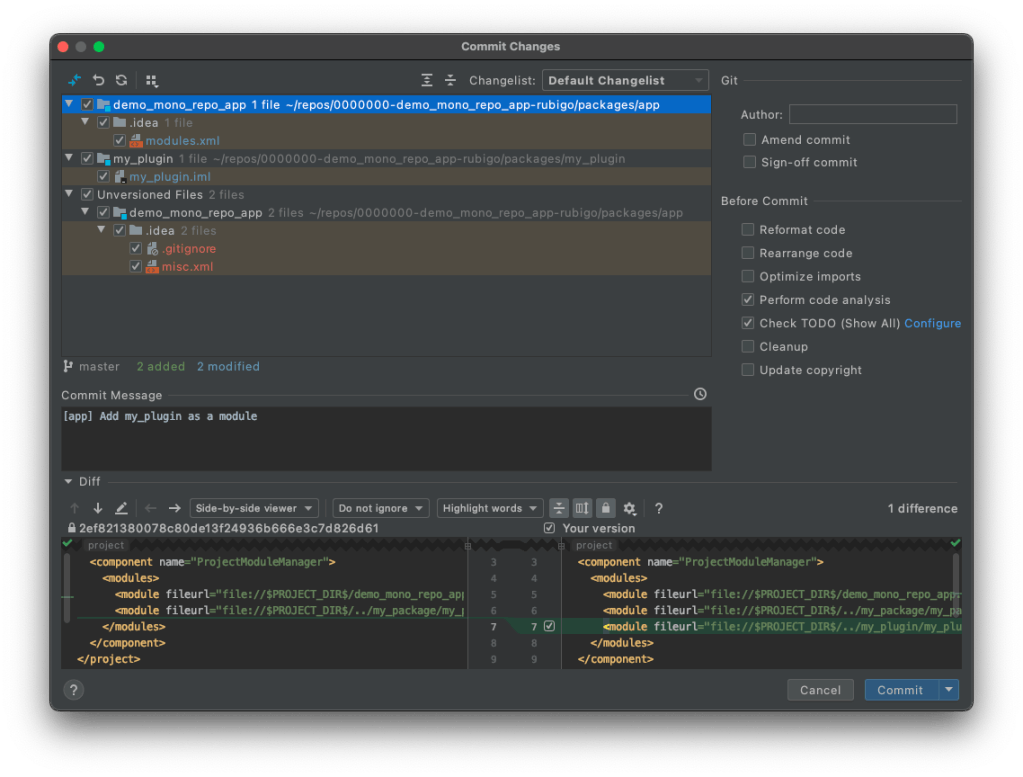 Choose “Commit”
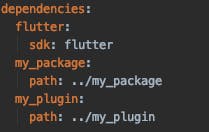
Add plugin as a dependency
Open demo_mono_repo_app/pubspec.yaml and add my_plugin, and run pub get.
Commit add plugin as a dependency
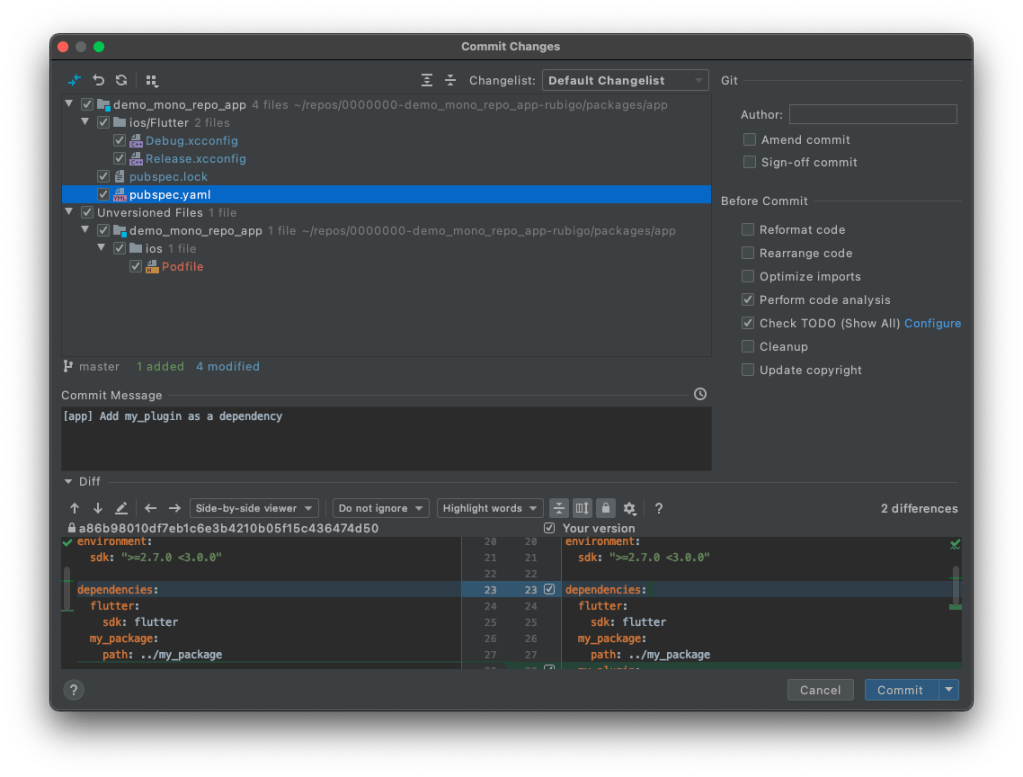 Choose “Commit”
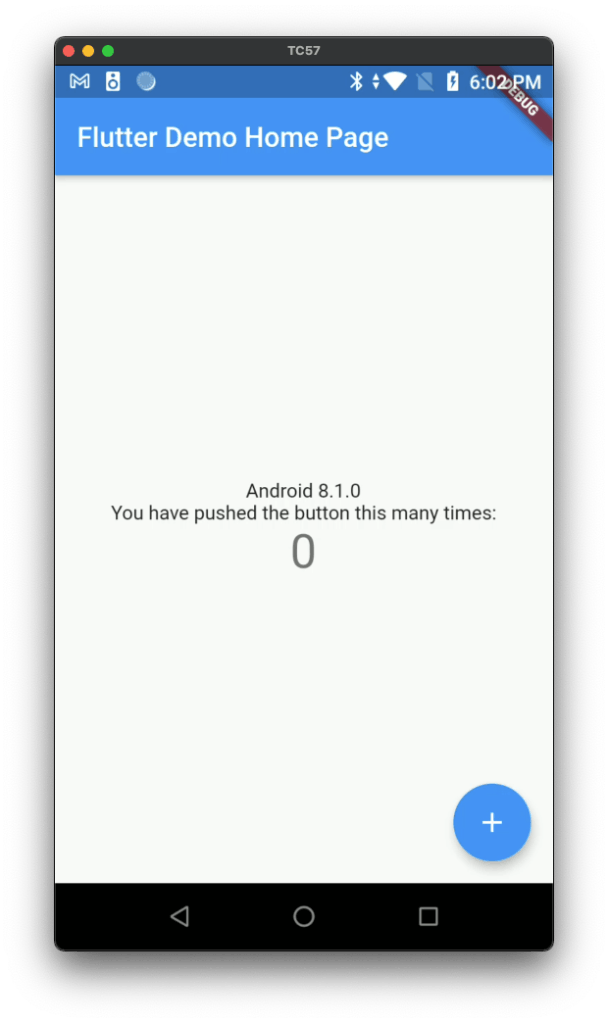
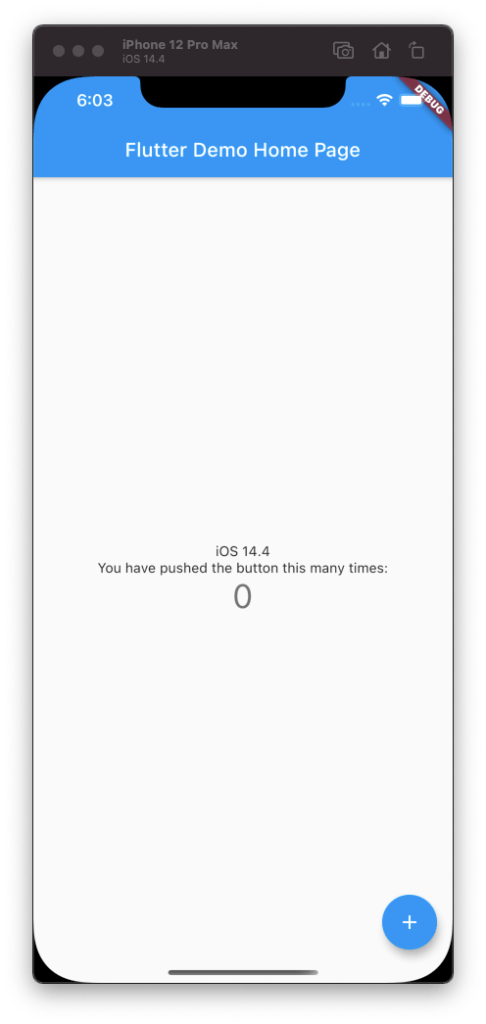
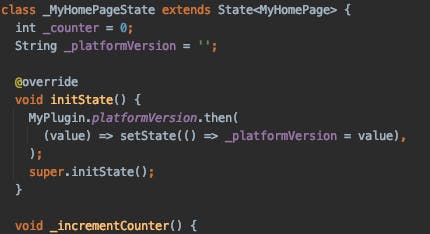
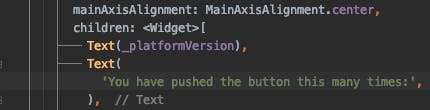
Change main.dart to use plugin
With some small changes, we can call MyPlugin.platformVersion, which gets information about the current OS.
Commit changes to main.dart
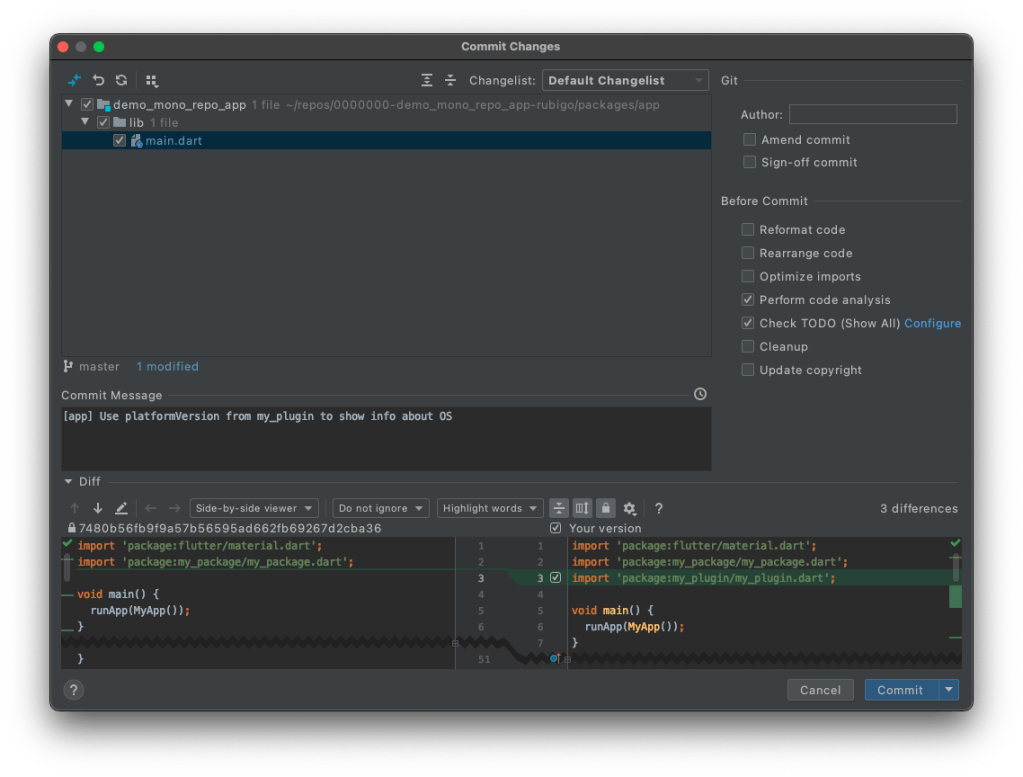 Choose “Commit”
Done
These are all the steps that are needed to add a plugin to the mono-repo.
The app final app can be downloaded from:
https://github.com/jsroest/0000000-demo_mono_repo_app-rubigo